Running Qwen3.8-Flash-Next on Two MacBook Pros
Run Qwen3.8-Flash-Next across two MacBook Pros with Kapitsa and a Thunderbolt connection, with setup instructions and coding test results.
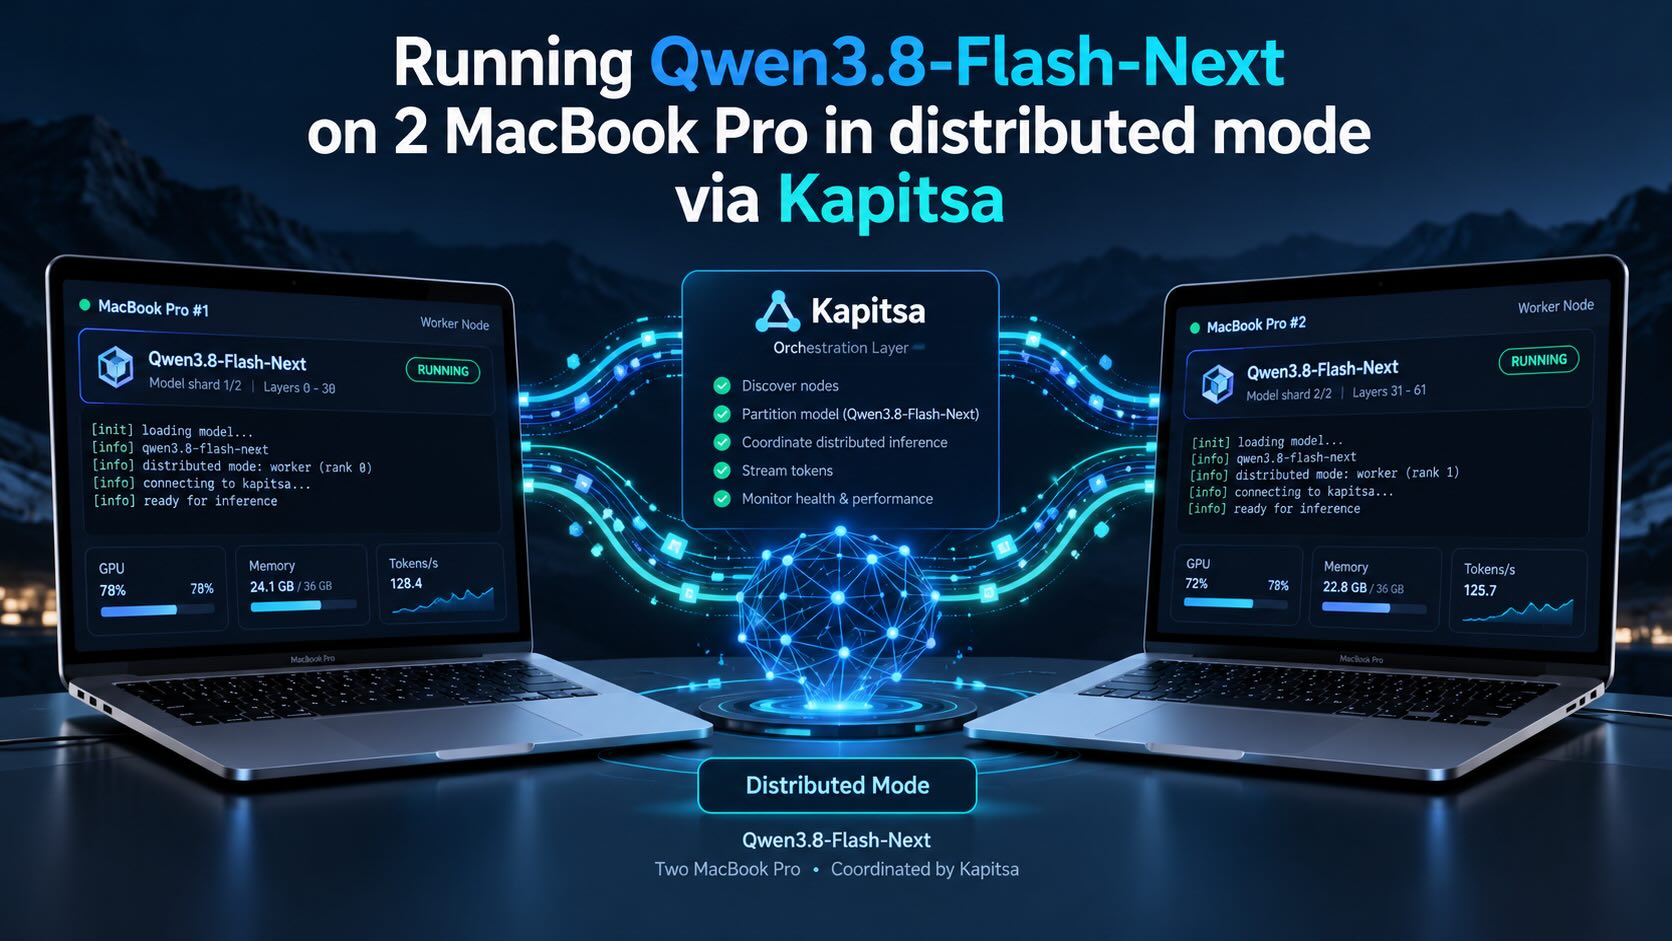
I wanted to run a capable local LLM for programming, but neither of my MacBook Pros had enough memory for the larger model I wanted to try. This guide describes how I used Kapitsa to run Qwen3.8-Flash-Next across both machines over a Thunderbolt connection.
My M3 Pro MacBook Pro has 36 GB of unified memory. In my setup, it could run Qwen3.8-27B with roughly 65K tokens of context, which became restrictive when working with large codebases. My M5 Pro MacBook Pro has 24 GB of unified memory: it generated tokens faster in my tests, but had less room for model weights and context. On that machine, I used the 16gb variant of Qwen3.6-35B-A3B.
Splitting Flash-Next across the two Macs let me try a larger model using hardware I already owned. Below are the setup steps, followed by the coding tasks I used to evaluate it and the results I recorded.
Prerequisites
- Two Macs with Apple silicon. I used an M3 Pro MacBook Pro with 36 GB of unified memory and an M5 Pro MacBook Pro with 24 GB.
- A Thunderbolt cable for the connection between them.
- Homebrew on both Macs, plus Git and Python 3 on the Mac used to prepare the model.
- Internet access to download Kapitsa and the model, and enough free disk space for the model files: roughly 70 GB on the head node in my setup, with a smaller copy on the stage node.
- SSH access to the second Mac for transferring files. On macOS, enable Remote Login in System Settings → General → Sharing if needed.
- OpenCode installed on the Mac where you will run the coding agent.
Setup
1. Connect the Macs over Thunderbolt
Connect the Macs with the Thunderbolt cable. In System Settings → Network → Thunderbolt Bridge, configure a manual IPv4 address on each Mac. I used the following addresses, with a subnet mask of 255.255.255.0:
| Mac | Unified memory | Thunderbolt IP address | Role |
|---|---|---|---|
| MacBook Pro M3 Pro | 36 GB | 192.168.100.1 | Head node: runs the API server and coding agent |
| MacBook Pro M5 Pro | 24 GB | 192.168.100.2 | Stage node: runs part of the model |
Choose a subnet that does not overlap with your existing network.
On both Macs, inspect the Thunderbolt connection:
| |
Then check IP connectivity in both directions. On the M3 Pro:
| |
On the M5 Pro:
| |
2. Install Kapitsa on both Macs
| |
3. Prepare the model on the M3 Pro
Clone Kapitsa’s repository to get its model conversion tools, then create a Python environment:
| |
Prepare the Q2_0 model pack and check the converted files:
| |
The conversion tool downloads the required tensors from its default model sources. With --table gguf, it stores the model’s n-gram embedding table as ple.gguf. Allow time for the download and conversion to finish.
The roughly 70 GB figure is the model’s size on disk. Kapitsa can stream routed experts from SSD when they do not fit in memory; check its logs to see how the model is loaded on your machines.
4. Copy the stage files to the M5 Pro
Run these commands on the M3 Pro. Replace USER with your username on the M5 Pro. Using its Thunderbolt IP address sends the transfer over that connection.
| |
The excluded embedding-table and prediction-head files are only needed on the head node. The stage still needs the matching model configuration and trunk weights. This follows Kapitsa’s split-inference setup.
5. Start the stage node on the M5 Pro
| |
Leave this process running while you start the head node.
6. Start the head node on the M3 Pro
Replace YOUR_SECRET with your own API key, and use the same value in the commands below.
| |
--split connects to the stage on its default port, 9330. --context 256k requests a 256K-token context window, shared by the prompt, conversation history, and reply. --slots 2 allows two requests at once. Check the startup logs for the selected context and memory allocation; starting the server does not prove that two full 256K-token conversations will fit. See Kapitsa’s context settings.
7. Check the API
In another terminal, check that the head node responds with model information:
| |
A successful response confirms that the API is reachable and the key is accepted. Use the server’s startup logs to confirm its configured context limit.
8. Start OpenCode on the M3 Pro
From the project directory you want to work on, run:
| |
Keep both Kapitsa processes running. The agent connects to the head node’s API on port 8001.
Coding tests
I tried three local models:
- Qwen3.8-27B on the M3 Pro alone.
- Qwen3.8-Flash-Next split across both Macs, using the Q2_0 pack prepared above.
- Qwen3.6-35B-A3B, using the
16gbvariant, on the M5 Pro alone.
For reference, I also gave the same tasks to Codex with GPT-6.1-Sol and high reasoning effort. The prompts are included below so the tasks are reproducible.
These are observations from my runs, rather than a controlled benchmark. Model sizes, quantization, hardware, and execution environments differ. Elapsed task time and the recorded token rate measure different things: a coding-agent run can include multiple model calls and tool use.
Task 1: Interactive 3D Rubik’s Cube
Create a fully functional, interactive 3D Rubik’s Cube using only HTML, CSS, and vanilla JavaScript.
Requirements:
- Implement a realistic 3×3×3 Rubik’s Cube with all 26 visible cubies.
- Render the cube in true 3D using CSS 3D transforms or WebGL.
- Allow users to rotate the entire cube by dragging the mouse.
- Implement individual face rotations using mouse interactions and keyboard shortcuts (U, D, L, R, F, B).
- Face rotations must animate smoothly in 90-degree increments.
- Maintain a mathematically correct internal cube state after every move.
- Add Scramble, Reset, Undo, and Solve buttons.
- The Scramble button must generate at least 20 valid random moves.
- The Solve button must restore any scrambled state, either using a genuine solving algorithm or by reversing the complete recorded move history. Clearly identify which method is used.
- Display a move counter, timer, and solved-state indicator.
- Use a polished dark-themed interface with responsive layout.
- Make everything work in a single standalone HTML file without external libraries or CDN dependencies.
Provide the complete HTML source code. Do not use placeholders, pseudocode, or incomplete functions. The result must work immediately when saved as index.html and opened in a modern browser.
Task 2: Interactive Physics Simulation
Build a visually impressive, interactive 2D physics simulation in a single HTML file.
Requirements:
- Use HTML5 Canvas and vanilla JavaScript.
- Simulate 150 colorful balls affected by gravity.
- Implement collisions between balls and with container boundaries.
- Add mouse interaction: users should be able to grab, drag, and throw balls.
- Add adjustable gravity, friction, restitution, and ball count.
- Include Pause, Resume, Reset, and Add 50 Balls buttons.
- Display real-time FPS, active object count, and simulation time.
- Implement a fixed physics timestep and use requestAnimationFrame for rendering.
- Optimize collision detection using a spatial grid or similar technique.
- Support mobile touch interaction.
- Create a polished, modern user interface.
Deliver a complete, self-contained HTML file with no external dependencies. Prioritize physically plausible behavior, smooth animation, and maintainable code.
Results
Interactive 3D Rubik’s Cube
| Model | Configuration | Elapsed time | Recorded rate | Observed result |
|---|---|---|---|---|
| Qwen3.8-Flash-Next | Both Macs; M3 Pro as head | 2 h 22 min | 12.7 tok/s | Worked on the first attempt. |
| Qwen3.8-Flash-Next | Both Macs; M5 Pro as head | 1 h 13 min | 16.8 tok/s | Some parts turned black during rotation. There were also memory-pressure warnings. |
| Qwen3.8-27B | M3 Pro alone | 2 h 35 min | 14.0 tok/s | Cube rotation was broken. |
Qwen3.6-35B-A3B (16gb) | M5 Pro alone | 34 min | 60 tok/s | Failed: the output did not resemble a Rubik’s Cube. |
| GPT-6.1-Sol, high reasoning | Codex | 9 min 54 s | Not recorded | Worked on the first attempt. |
For the M5 Pro head-node run, the roles were reversed from the setup above. The memory warnings occurred during that run, but I cannot establish that they caused the rendering defects.
Interactive Physics Simulation
| Model | Configuration | Elapsed time | Recorded rate | Observed result |
|---|---|---|---|---|
| Qwen3.8-Flash-Next | Both Macs; M3 Pro as head | 1 h 12 min | 15.0 tok/s | Worked on the first attempt. |
| GPT-6.1-Sol, high reasoning | Codex | 13 min 59 s | Not recorded | Worked on the first attempt. |
For reference, the Codex usage indicator showed 5% of my five-hour allowance for the cube task and 6% for the physics task.
What I learned
Kapitsa let me run Qwen3.8-Flash-Next across two MacBook Pros I already owned. With the M3 Pro as the head node, it produced working results for both coding tasks on the first attempt, although each task took more than an hour. The smaller models were less successful on the cube task in these runs.
Using the M5 Pro as the head node completed the cube task sooner, but the result had rendering defects and the run produced memory-pressure warnings. For this experiment, the M3 Pro head configuration gave me the better result.
The main benefit was access to a larger local model. These tests do not establish whether splitting Flash-Next is faster than running the same model on one sufficiently large Mac: I did not measure that baseline. They also do not establish how reliably each model would perform across repeated attempts.
If you already have two Apple silicon Macs, distributed inference is one way to explore larger models without buying another machine. In my case, it was useful for experimenting with local coding agents, with long task times and memory pressure as practical limits.