Khadas VIM3: Armbian on eMMC With OOWOW Recovery in SPI
Configure a Khadas VIM3 V12 to boot Armbian from eMMC by default and OOWOW from SPI when holding the FUNCTION button.
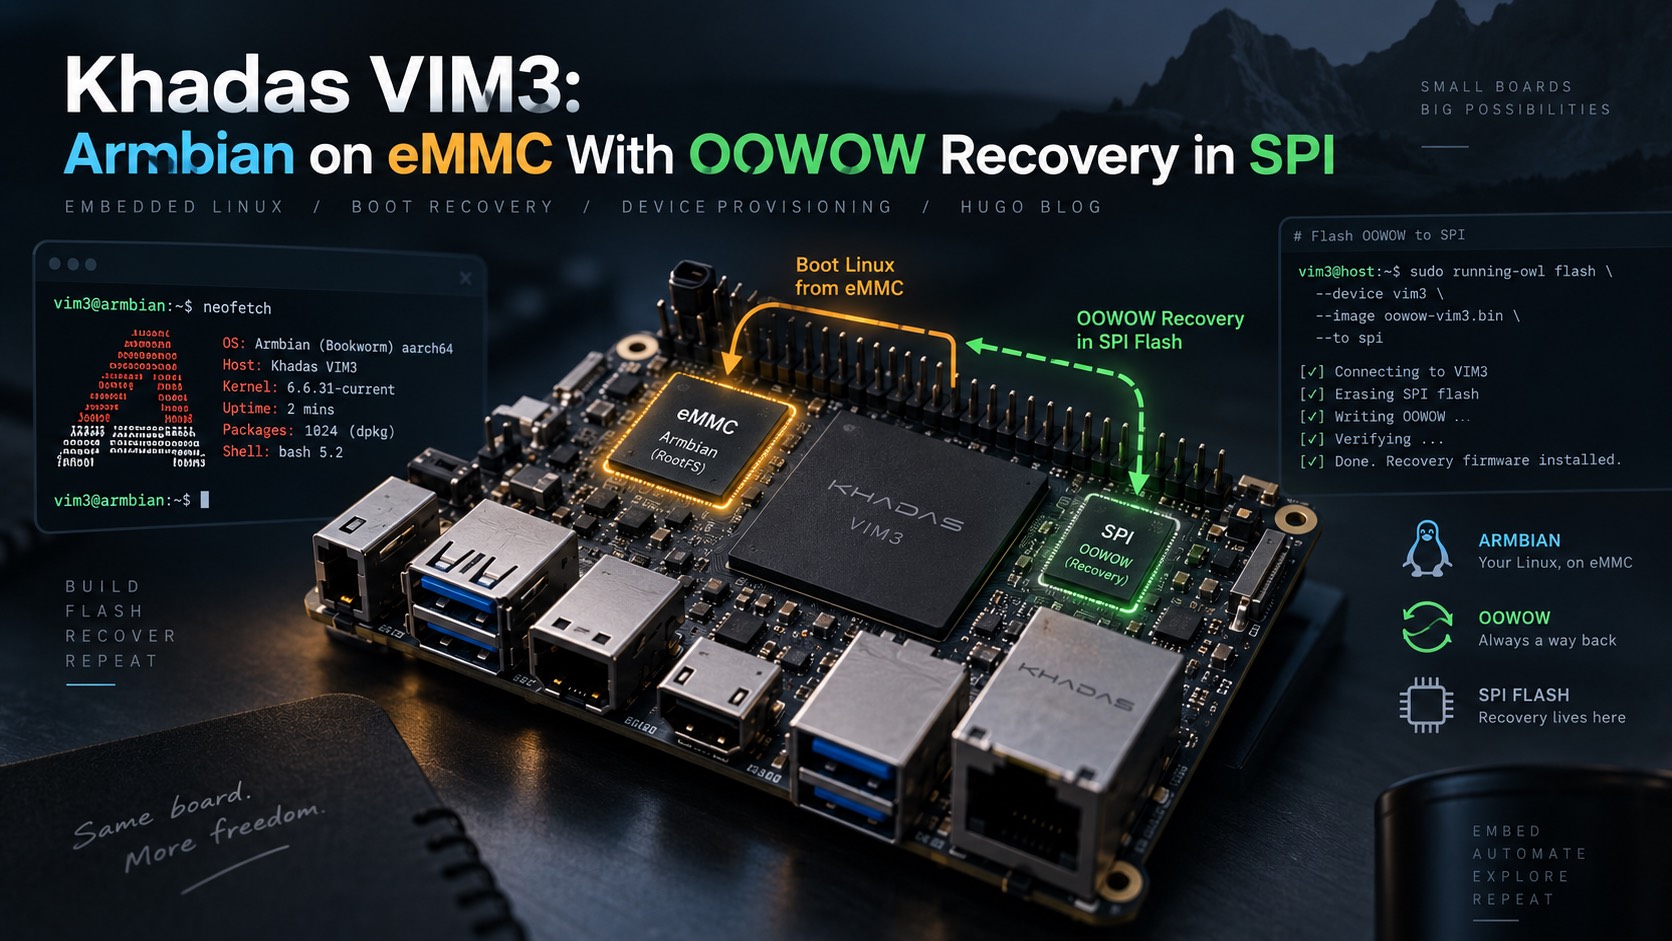
This guide walks through recovering SPI boot on a Khadas VIM3 V12, installing Armbian on eMMC, and keeping OOWOW available with the FUNCTION button. The final setup starts U-Boot from SPI, boots Armbian by default, and launches OOWOW when FUNCTION is held during startup.
The sequence below documents the configuration verified on the VIM3 V12 described in the original runbook. The I2C bus number and U-Boot device names shown here are specific to that setup; check them on your board before using the commands.
Final boot flow
| |
Important: Do not call
run bootcmd_spidirectly from the FUNCTION-button branch.
The working solution is to changeboot_targetstospiand then run the standarddistro_bootcmd.
1. Recover from a broken SPI boot loop
Initially, BOOT_MODE was set to SPI while the SPI contents were invalid. The board entered a boot/reset loop and the white LED flashed rapidly.
The existing Ubuntu installation in eMMC could still be started by pressing FUNCTION three times quickly.
1.1 Find the VIM3 MCU I2C bus
Boot the existing Linux installation and run:
| |
For example, if the result is:
| |
then the I2C bus number is 4.
1.2 Check the current MCU boot mode
| |
Values used on this VIM3:
| |
1.3 Temporarily bypass the broken SPI
Switch the board to eMMC boot mode:
| |
Replace
4with the I2C bus number reported on your board.
2. Boot OOWOW from microSD using KEY mode
After switching BOOT_MODE to eMMC, OOWOW could be started from a prepared microSD card using VIM3 KEY mode.
- Power the VIM3 off completely.
- Insert the microSD containing the VIM3 OOWOW SD image.
- Hold POWER.
- Briefly press RESET while continuing to hold POWER.
- Keep holding POWER for a few seconds, then release it.
- Wait for OOWOW to boot.
3. Fully restore OOWOW in SPI
During recovery, SPI was first completely erased from OOWOW:
| |
The built-in Write system to SPI flash menu showed an empty From field and offered an old version after checking for updates. Therefore, the SPI image was written manually over SSH.
3.1 Connect to OOWOW over SSH
| |
The local OOWOW HTTP helper was not used because this command failed with Bad Gateway on this setup:
| |
3.2 Download and verify the VIM3 SPI image
| |
3.3 Write OOWOW to SPI
| |
Wait until the SPI write completes successfully. Then run:
| |
Do not remove power while
spi_updateis running.
After a full SPI erase, this step restores the SPI contents.
4. Verify that OOWOW boots directly from SPI
Before working on the FUNCTION-button logic, first verify that the SPI image itself is valid.
Boot Linux and temporarily set BOOT_MODE=SPI:
| |
Remove the microSD card and power the VIM3 on.
If OOWOW boots, then:
- the SPI flash is working;
- the OOWOW SPI image is valid;
- any remaining problem is only in boot-target selection.
On this VIM3 V12, OOWOW successfully booted directly from SPI.
5. Install Armbian directly to eMMC from OOWOW
On this VIM3 V12, directly writing the Armbian image to eMMC with dd worked correctly. armbian-install was not required.
Connect to the running OOWOW instance over SSH.
5.1 Download the Armbian image
| |
5.2 Verify the downloaded image
| |
5.3 Confirm the eMMC device
| |
Before writing anything, verify that mmc_disk points to the VIM3 eMMC device. The following command destroys the existing contents of that device.
5.4 Write Armbian to eMMC
| |
After sync completes:
- Power the board off completely.
- Remove the microSD card.
- For the first test, use
BOOT_MODE=eMMC. - Boot the VIM3.
On this board, Armbian successfully booted from eMMC after the direct dd installation.
6. Verify Armbian boot through SPI U-Boot
The next goal is to keep BOOT_MODE=SPI, start U-Boot from SPI, and then boot Armbian from eMMC.
- Set
BOOT_MODE=SPI. - Power on the VIM3.
- Press Space during the U-Boot countdown to stop autoboot.
- Run:
| |
On this VIM3 V12, Armbian booted successfully.
This confirmed that:
- SPI U-Boot is working;
- eMMC is exposed as
mmc2; - the standard
distro_bootcmdcan boot the installed Armbian system.
7. Verify the FUNCTION button in U-Boot
Stop U-Boot with Space.
List buttons known to U-Boot:
| |
Test the FUNCTION button:
| |
Run the test once with the button released and once while holding FUNCTION.
On this VIM3 V12, the FUNCTION button was detected correctly by U-Boot, so no U-Boot rebuild was required.
8. Configure the final U-Boot boot logic
What did not work
Calling run bootcmd_spi directly inside the FUNCTION-button branch did not start OOWOW reliably.
The working method is:
- set
boot_targets=spiwhen FUNCTION is held; - set
boot_targets=mmc2otherwise; - run the standard
distro_bootcmdin both cases.
8.1 Test without saving anything
At the U-Boot prompt, enter:
| |
Do not run saveenv yet.
8.2 Test normal boot
Without pressing FUNCTION:
| |
Expected result:
| |
8.3 Test OOWOW boot
Restart the board and stop autoboot to return to the U-Boot prompt. Because the settings have not been saved, repeat both setenv commands from step 8.1. Then hold FUNCTION and run:
| |
Expected result:
| |
U-Boot then sets:
| |
and distro_bootcmd launches OOWOW from SPI.
8.4 Save the working configuration
Only after both tests succeed, return to the U-Boot prompt and save the configuration:
| |
9. Normal operation after configuration
| Scenario | Action | Result |
|---|---|---|
| Normal power-on / reset | Do not press anything | SPI U-Boot -> mmc2 -> Armbian in eMMC |
| Boot OOWOW | Hold FUNCTION during startup/reset | SPI U-Boot -> boot_targets=spi -> OOWOW |
| Enter U-Boot console | Press Space during autoboot | U-Boot command prompt |
10. Quick recovery if SPI prevents normal boot again
A tested emergency recovery path for this board is:
- Try pressing FUNCTION three times quickly to bypass the problematic SPI path and boot eMMC.
- After Linux starts, find the MCU I2C device (
*-0018). - Temporarily switch back to
BOOT_MODE=eMMC:
| |
- If necessary, boot OOWOW from microSD using KEY mode.
- Restore SPI again using
spi_update.
Replace I2C bus
4with the actual bus number on your board.
11. Final checklist
- OOWOW is written to SPI and boots directly when
BOOT_MODE=SPI. - Armbian is written directly to eMMC from OOWOW using
xz -dc ... | dd ...and boots successfully. - SPI U-Boot boots Armbian using
setenv boot_targets 'mmc2'; run distro_bootcmd. -
button Functionis detected correctly by U-Boot. - Without holding FUNCTION, Armbian boots from eMMC.
- Holding FUNCTION boots OOWOW from SPI.
-
saveenvwas executed only after both boot paths were verified.
Final U-Boot configuration — copy/paste block
Run this in SPI U-Boot after verifying that mmc2 is the eMMC device:
| |
Result
| |
Configuration verified on Khadas VIM3 V12.